How to build the installation package
If you don’t want to build the installation package, you can contact support using CRM and download the ready-to-install package so you can skip this step and proceed to installation directly.
By building the installation package, you can download the latest third-party plugins, use minified files (better SEO), etc.
First download Node from this link
After that download Composer from this link
Download a code editor software (IDE). Visual Studio Code preferred.
Install all of the mentioned software and restart your PC.
Unzip the “source.zip” file to a folder on your PC.
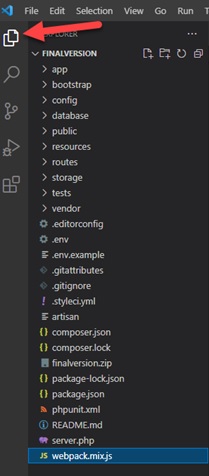
Open Visual Studio Code and navigate to “File/Open Folder” from the top menu and select the project folder. You should have the project structure the same as the following image:
 Click on “Terminal/New Terminal” from the top menu and type
 npm –v on the terminal. You should get the same result like the following image:
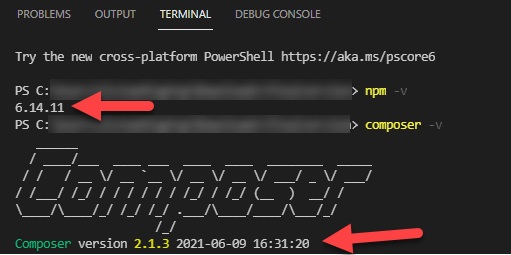 Also, try
 composer –v and you should get the composer version. If you got version code for both composer and npm, it means that both of them installed perfectly.
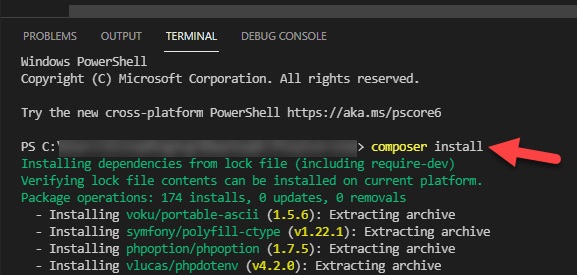
Now click on “Terminal/New Terminal” from the top menu and type composer install and wait until all packages are downloaded. You might face yellow warnings so ignore them and wait.
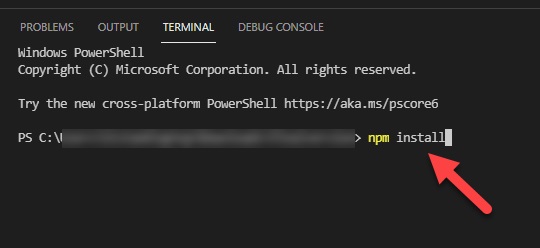
 Once the process is finished, click on “Terminal/New Terminal” from the top menu and type
 npm install and press enter and wait for the process.
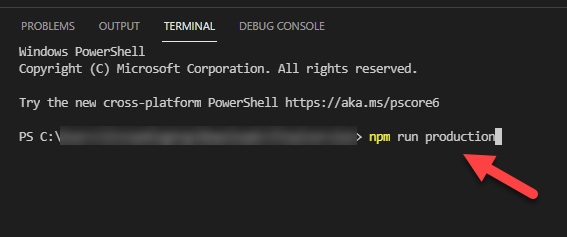
 After that click on “Terminal/New Terminal” from the top menu and type
 npm run production and wait so the final package will be created after the process is finished.
If you want to get unminified files, you can try npm run dev so you will get the files that are easy to edit.
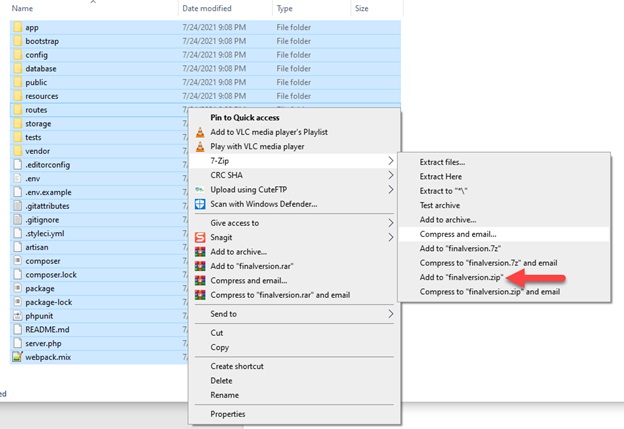
 Now navigate to the project folder on your PC and delete the “node_modules” folder and zip all of the files and folders using compression software (7zip preferred). You can name it “build.zip”. Your package is ready for installation.
 You can also get the latest ready package from our CRM.